Adding Top Level Menu Integration to a DXCore Plugin
Most of the DXCore/CodeRush plugins I write are Tool Window plugins like CR_Documentor or are plugins you’d bind to a hot key like CR_JoinLines. For Tool Windows, DXCore automatically gives you menu integration…
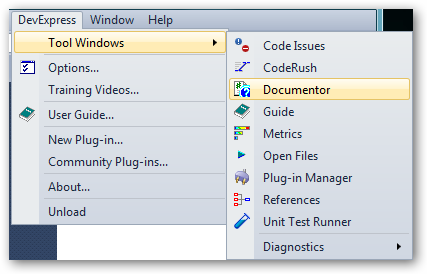
…and for hot key plugins, you don’t need it. But sometimes your plugin isn’t really a tool window, or maybe you need to integrate into a different menu, like the standard “Tools” menu. I’ll show you how to do that.
Before you begin, consider if you really need this. It’s not hard to add, but if you’re like me, you already have a ton of stuff flooding the various menus. Before you add that to your plugin, determine if you really need to. “With great power comes great responsibility,” right?
OK, so you want the top level integration. Let’s do it.
First, I’ll create a standard plugin project and call it TopLevelMenuDemo. If you already have a plugin project, you can add a new plugin to your existing project. The key here is you need a “standard plugin” rather than a “tool window plugin” for this.
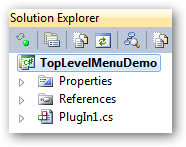
Next, I’m going to drag an Action onto my plugin designer from the “DXCore” part of my toolbox. I’ll name it “menuAction” so we know what it’s for.
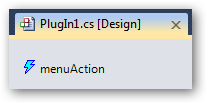
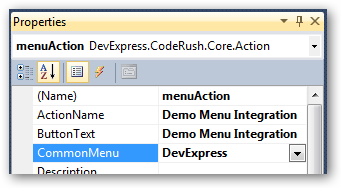
Select the “menuAction” Action and open the Properties window. You need to set…
- ActionName - Set this to the name of the action. It won’t be visible, but I usually set this to the text I expect to see in the menu.
- ButtonText - This is the text you’ll actually see in the menu.
- CommonMenu - This is the top-level menu to which your item should be added.
For our demo integration, we’ll set “ActionName” and “ButtonText” to “Demo Menu Integration” and we’ll set “CommonMenu” to “DevExpress” so we appear in the top-level DevExpress menu.
Switch the Properties menu over to show events and set an Execute event handler. The Execute handler is what happens when someone clicks your menu item.
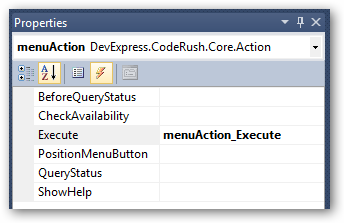
For our demo handler, we’ll just show a quick message box.
private void menuAction_Execute(ExecuteEventArgs ea)
{
  MessageBox.Show("Demo success!");
}
That’s it!
Hit F5 to start debugging. A new instance of Visual Studio will pop up and you should see your menu integration in place.
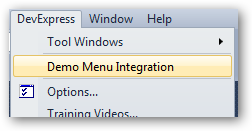
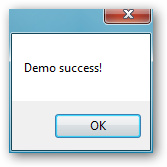
Selecting the menu item, you should see the message box pop up. Success!
For the more advanced users… check out the other events you can handle on the action if you want even more control. For example, the PositionMenuButton event can give you more control over the positioning of your menu item within the parent menu. There’s not a lot of documentation out there on this, so you’ll need to experiment a bit, but a lot can be achieved.